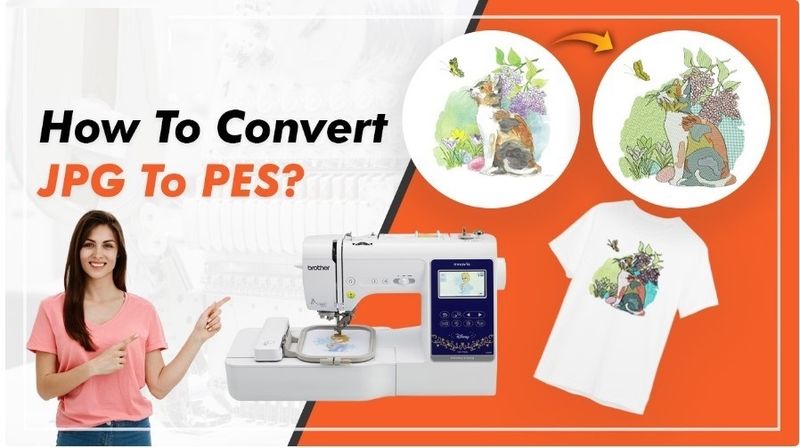
Images are everywhere. We use them for logos, prints, and web design. But not all images are the same. Some look sharp at any size. Others get blurry when you zoom in.If you work with design, you may need to Convert Image into EPS Format to get clean and scalable results. I have worked with image files for many years. I will show you simple steps that really work in daily use.
What Is a Pixel Image?
A pixel image is made of small dots. These dots are called pixels.
Each pixel has a color. Together, they form the image.
Common Pixel Formats
- JPG
- PNG
- BMP
These files are easy to use. But they have limits.
What Is a Vector Image?
A vector image is very different. It is not made of pixels.
It is made of paths. These paths use math.
What This Means
- You can scale it to any size
- It stays sharp
- It is easy to edit
Vector files are used for logos, signs, and print work.
Why Convert Pixel to Vector?
Pixel images lose quality when you resize them.
Vector images do not.
Key Benefits
Sharp at Any Size
No blur, even at large size
Easy to Edit
Change colors and shapes fast
Better for Print
Perfect for banners and logos
From my experience, vector files save time and give better results.
What Is EPS Format?
EPS is a type of vector file.
It stands for Encapsulated PostScript.
Why EPS Is Useful
- Works with many design tools
- Great for print
- Keeps high quality
Many print shops ask for EPS files. That is why it is important to know this format.
Tools You Can Use
You need the right tools to convert images.
Popular Software
Adobe Illustrator
Best for pro work
CorelDRAW
Great for design and print
Inkscape
Free and easy to use
I have used all three. Beginners can start with Inkscape. It is simple and free.
Step-by-Step Guide to Convert Image to Vector
Let’s go step by step.
Step 1: Choose the Right Image
Start with a good image.
Tips
- Use high quality
- Avoid blur
- Keep design simple
Clean images give better results.
Step 2: Open the Image in Software
Open your design tool.
Then:
- Import the image
- Place it on the artboard
- Lock it if needed
Now you are ready to trace.
Step 3: Use Auto Trace Tool
Most tools have an auto trace feature.
What It Does
- Converts pixels into paths
- Saves time
But Be Careful
Auto trace is not perfect. You may need to fix the result.
Step 4: Adjust Trace Settings
You can control how the trace looks.
Settings to Check
Threshold
Controls light and dark areas
Paths
Controls detail level
Corners
Keeps sharp edges
Try different settings. Pick what looks best.
Step 5: Clean the Vector
After tracing, clean the design.
What to Fix
- Remove extra points
- Smooth lines
- Fix shapes
This step is very important. Clean files work better.
Step 6: Add Colors
Now apply colors.
Tips
- Use simple colors
- Match original design
- Avoid too many shades
Simple color use makes files easy to print.
Step 7: Save as EPS File
Now save your file.
Steps
- Go to Save As
- Choose EPS format
- Check settings
Your vector file is now ready.
Manual Tracing vs Auto Tracing
There are two ways to convert images.
Auto Tracing
Pros
- Fast
- Easy
Cons
- Less control
- May need edits
Manual Tracing
Pros
- Full control
- Clean results
Cons
- Takes time
- Needs skill
From my work, I use both methods. For simple images, auto is fine. For logos, manual is better.
Common Mistakes to Avoid
Many people make simple mistakes.
Mistake 1: Using Low-Quality Images
Bad input gives bad output
Mistake 2: Too Many Details
Hard to trace and edit
Mistake 3: Skipping Cleanup
Leads to messy files
Mistake 4: Wrong Settings
Can ruin the design
Tips from Real Experience
Here are tips I learned from years of work.
Keep It Simple
Simple designs work best
Zoom In While Editing
Helps you see small errors
Use Layers
Keeps your work neat
Save Often
Prevents data loss
When to Use Vector Files
Vector files are best in many cases.
Logo Design
Logos must be sharp
Large Prints
Banners and signs need high quality
Cutting Machines
Used for vinyl and laser cutting
Understanding File Quality
Good quality is very important.
Check for Clean Lines
No rough edges
Check Colors
Must match design
Check Size
Should fit your need
When to Hire a Professional
Sometimes you need expert help.
Hire a Pro If:
- Image is complex
- You need fast work
- You want perfect results
Professionals have more tools and skill.
Benefits of Learning This Skill
Learning vector conversion is very useful.
Save Money
No need to hire others
Better Control
You manage your design
Career Growth
Useful for design jobs
Final Thoughts
Turning pixel images into vector files is a key skill. It helps you create sharp and clean designs.
Start with simple images. Learn the tools. Practice each step.
From my own experience, practice makes a big difference. Each project helps you improve.
Stay patient and keep learning. Soon, you will be able to create smooth and scalable vector designs with ease.


Top comments (0)